Embarking on a DIY painting project can be a delightful and transformative experience, providing an opportunity to express your creativity while enhancing your living space. However, achieving a professional-looking finish heavily relies on selecting the right tools for the job. It’s not just about convenience; the right tools can significantly impact the quality of your finished project, even if you’re a novice. This blog will guide you through selecting the best tools for your DIY painting adventure, ensuring a successful outcome. Understanding the role of each tool and how it contributes to the overall project will enable you to make informed decisions that enhance both the process and the results.
Understanding Your Project Needs
Before diving into the vast array of painting tools, it’s essential to thoroughly understand the specific requirements of your project. Start by assessing the size of the area you’re painting, the types of surfaces you’ll be working on, and the kind of paint you plan to use. Each of these factors plays a critical role in tool selection. For instance, large rooms might benefit from the use of rollers to ensure efficiency and even coverage, while detailed work such as trim and corners will require smaller, angled brushes for precision. Additionally, the type of paint you choose directly influences the selection of brushes and rollers, as different materials are optimized for different types of paint.
Brushes: The Cornerstone of Painting Tools
Brushes are the cornerstone of painting tools, offering versatility for various tasks. They come in a multitude of sizes and shapes to accommodate different applications. For covering broad, flat surfaces, large brushes or rollers are suitable and help speed up the painting process. Conversely, intricate tasks like painting edges, corners, and trims call for smaller, angled brushes which provide greater control and accuracy. Furthermore, the type of bristles on the brush is important to consider; synthetic bristles are generally better for water-based paints due to their durability and resistance to water, while natural bristles are ideal for oil-based paints as they hold paint better, allowing for smoother application.
Rollers: For Efficiency and Coverage
Rollers are invaluable when it comes to painting large, flat areas such as walls and ceilings. They not only save time but also provide a more uniform application compared to brushes. When choosing a roller, the length of the nap is important—longer naps work best on textured surfaces as they can reach into crevices and provide complete coverage, whereas shorter naps are ideal for smooth surfaces, resulting in a clean, even finish. The material of the roller also affects the final outcome, so it’s important to choose one that complements the type of paint you are using to achieve the desired finish.
Extension Poles and Ladders
Utilizing an extension pole with your roller can greatly increase your reach and efficiency, especially when painting high walls or ceilings. This approach not only saves time but also minimizes the safety risks associated with frequent ladder movement. For areas that are out of reach even with an extension pole, a sturdy ladder is indispensable. Ensure that the ladder is appropriately sized for the space and securely placed to prevent any accidents. Safety should always be a priority, and proper equipment can make a significant difference in preventing falls and injuries.
Other Essential Tools
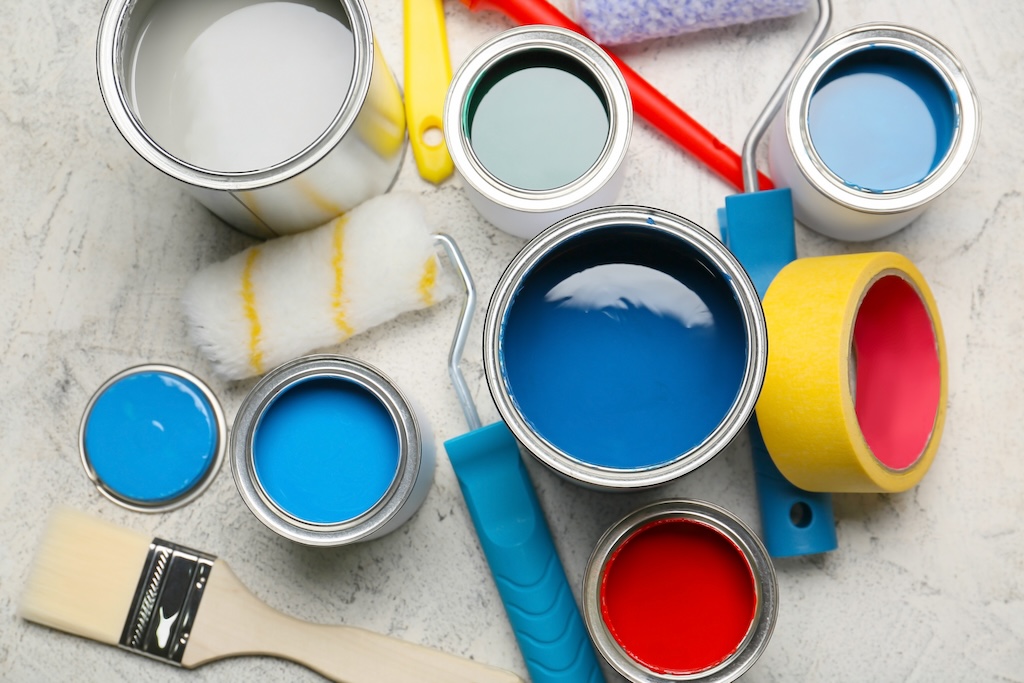
Beyond brushes and rollers, several other tools are essential for a comprehensive DIY painting kit. Painter’s tape is crucial for protecting edges and achieving sharp lines, while drop cloths protect your floors and furniture from paint drips and spills. Additionally, a sturdy paint tray is indispensable when using a roller, facilitating an even load of paint, and a paint stirrer ensures that your paint remains consistent throughout the application. These tools help refine the painting process, contributing to a neater, more professional finish.
Investing in Quality
Although it may be tempting to cut costs by purchasing lower-quality tools, investing in high-quality painting tools can significantly enhance the ease of application and the overall quality of the finish. Higher-quality tools not only deliver better results but are also more durable, making them a worthwhile investment for both current and future painting projects. Quality tools can handle more wear and tear and maintain their effectiveness over time, providing value long after the paint has dried.
Preparation and Cleanup
The success of your painting project isn’t just determined by how you apply the paint; preparation and cleanup are equally important. Before you begin painting, make sure the surface is clean, dry, and smooth to ensure the best possible adherence of the paint. Once you’ve finished painting, take the time to thoroughly clean your tools. Proper maintenance not only extends their lifespan but also ensures they are in good condition for future projects, preventing issues such as rust or residual paint from compromising your next job.
Final Thoughts
Choosing the right DIY painting tools is a crucial step toward ensuring the success of your painting project. By carefully considering your specific project needs, selecting the right brushes, rollers, and auxiliary tools, and focusing on quality, you can significantly improve your painting process. A well-executed project with the right tools not only leads to a more attractive space but also instills a sense of accomplishment and pride in your DIY efforts. Remember, effective preparation and diligent cleanup are integral to the painting process, reinforcing the importance of a comprehensive approach to DIY painting. For more DIY painting tips and tool recommendations, visit our website at sisupainting.com and explore our blog at sisupainting.com/blog.


No comment