Embarking on a DIY house painting project can be both exciting and daunting. However, with proper preparation, you can achieve professional-looking results that transform the look and feel of your home. The first step in any successful painting project is preparation. This involves choosing the right paint, gathering necessary tools, and preparing your space. Taking the time to thoroughly plan and organize your project can save you time and frustration later on.
Choosing the Right Paint
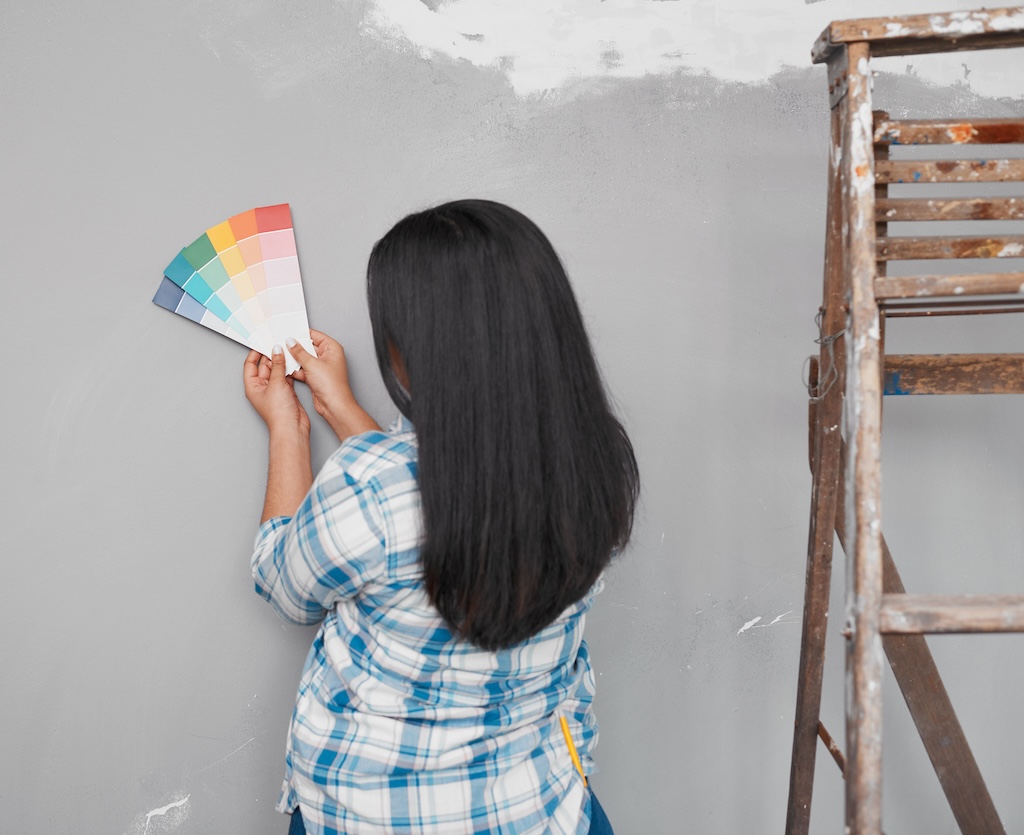
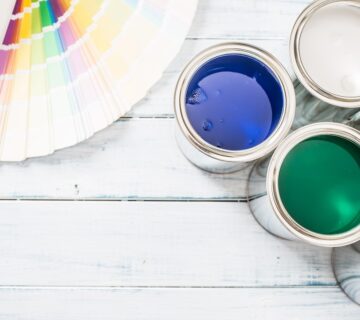
The choice of paint is crucial. There are different types of paints for various surfaces – walls, trims, ceilings, and exteriors. For interior walls, a water-based latex paint is often preferred due to its ease of clean-up and durable finish. For bathrooms and kitchens, consider a paint with a mold-resistant additive. When it comes to color, consider the room’s lighting and how it will affect the appearance of the color. Samples can be helpful in making a final decision. Additionally, consult with paint professionals at your local home improvement store for expert advice on paint selection. Their expertise can help you navigate through the myriad of options available.
Gathering Necessary Tools
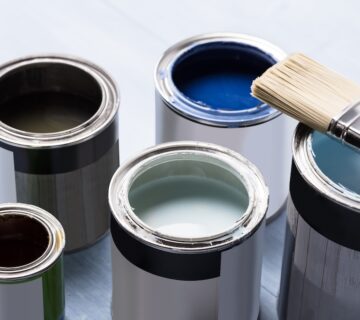
The right tools can make all the difference in a painting project. Key supplies include brushes, rollers, paint trays, painter’s tape, drop cloths, and a ladder. Invest in quality brushes and rollers for a smoother application and better coverage. A good angle brush is essential for cutting in corners and edges. Don’t forget safety gear like gloves and goggles, especially if you’ll be sanding surfaces or working with older paint that might contain lead. Additionally, consider renting larger tools like paint sprayers for more extensive projects to save time and effort. Renting tools can be a cost-effective solution, especially for one-time or infrequent use.
Preparing Your Space
Proper preparation of your painting area is vital for a clean and efficient painting process. Remove furniture or cover it with drop cloths. Clean the walls to remove dust and grime; this ensures better paint adhesion. Repair any holes or cracks in the walls and sand them smooth. Use painter’s tape to protect trim, windows, and door frames from accidental brush strokes. Take your time with preparation to ensure a smooth and professional-looking finish. Proper preparation lays the foundation for a successful paint job and can save you from headaches down the line.
Painting Techniques for a Professional Finish
Cutting In
“Cutting in” refers to painting the corners, edges, and trim before using a roller on the larger wall surfaces. This requires a steady hand and a good angle brush. Dip only a third of the brush into the paint and apply it in smooth strokes. Take your time with cutting in to ensure clean lines and precise edges. Cutting in is a skill that takes practice, so don’t rush through this step.
Using Rollers
For large wall surfaces, a roller provides efficient coverage. Load the roller evenly and apply the paint in a “W” or “M” pattern, then fill in the gaps with straight, controlled strokes. This helps in achieving an even coat without roller marks. Use extension poles for hard-to-reach areas like ceilings and high walls to maintain consistency in coverage. Roller selection is important – choose the appropriate nap length for your surface texture to achieve the desired finish.
Applying Multiple Coats
Often, a single coat of paint isn’t enough. For vibrant and uniform color, a second coat is usually necessary. Wait for the first coat to dry completely before applying the second. This patience pays off in the long run with a more durable and visually appealing finish. Avoid applying too thick of coats, as this can lead to drips and uneven drying. Applying multiple thin coats ensures better coverage and a smoother finish.
Final Touches and Clean-Up
After the painting is complete, remove the painter’s tape carefully. Touch up any missed spots or edges with a small brush. Once everything is dry, you can move furniture back into place and enjoy the fresh look of your newly painted space. Cleaning up promptly ensures your tools last longer. Wash brushes and rollers with soapy water (if using water-based paints), and store them properly. Dispose of any used painter’s tape and drop cloths responsibly. Proper clean-up ensures a tidy workspace for future projects and prolongs the life of your painting equipment. Attention to detail during clean-up ensures your tools are ready for future use and prevents any damage or deterioration.
Final Thoughts
Embarking on a DIY house painting project is a fulfilling endeavor. With the right preparation, tools, and techniques, you can achieve a beautiful result that adds character and warmth to your home. Take your time with each step of the process, and don’t hesitate to seek advice or assistance if needed. The satisfaction of completing a painting project and seeing the transformation of your space is well worth the effort. Remember to enjoy the process and take pride in your work – your home will thank you for it!
For more insights and tips, visit our website at sisupainting.com and explore our blog at sisupainting.com/blog. Happy painting!


No comment