In the fast-paced world we live in, finding time for DIY projects, especially something as time-consuming as painting, can be a challenge. However, with the right techniques and planning, even the busiest individuals can efficiently and effectively complete a paint job. This blog aims to provide busy DIY painters with time-saving strategies for DIY painting, enabling them to make the most out of their limited painting time. By implementing these strategies, you can turn a potentially overwhelming project into a manageable, even enjoyable task. Planning effectively is essential, as it ensures that the actual painting process goes smoothly, reducing the time and effort required.
Efficient Planning and Preparation
The key to a successful and time-efficient painting project lies in thorough planning and preparation. Ensuring you have all the necessary supplies before you even open a can of paint is vital. These include not just paint and brushes, but also painter’s tape, drop cloths, rollers, and other tools. Having everything at hand prevents unnecessary trips to the store, which is a major time-saver. Prepping your space is equally important; moving or covering furniture and laying down drop cloths protects your flooring and saves time by preventing mistakes that can be cumbersome to fix later. This initial investment of time ensures that the actual painting can proceed without interruptions, making the process more efficient and streamlined.
Choosing the Right Paint
Opting for paint that covers well and dries quickly can greatly speed up your painting process. High-quality paints often provide better coverage with fewer coats, meaning less time spent painting. Additionally, some paints are designed to dry faster, allowing for multiple coats in a shorter period. Consider using combined primer and paint products to save a step and further reduce the painting time. This choice can significantly affect the efficiency of your project, enabling quicker completion with excellent results. Choosing the right type of paint can make a dramatic difference in both the duration of the project and the quality of the finish.
Streamlining the Painting Process
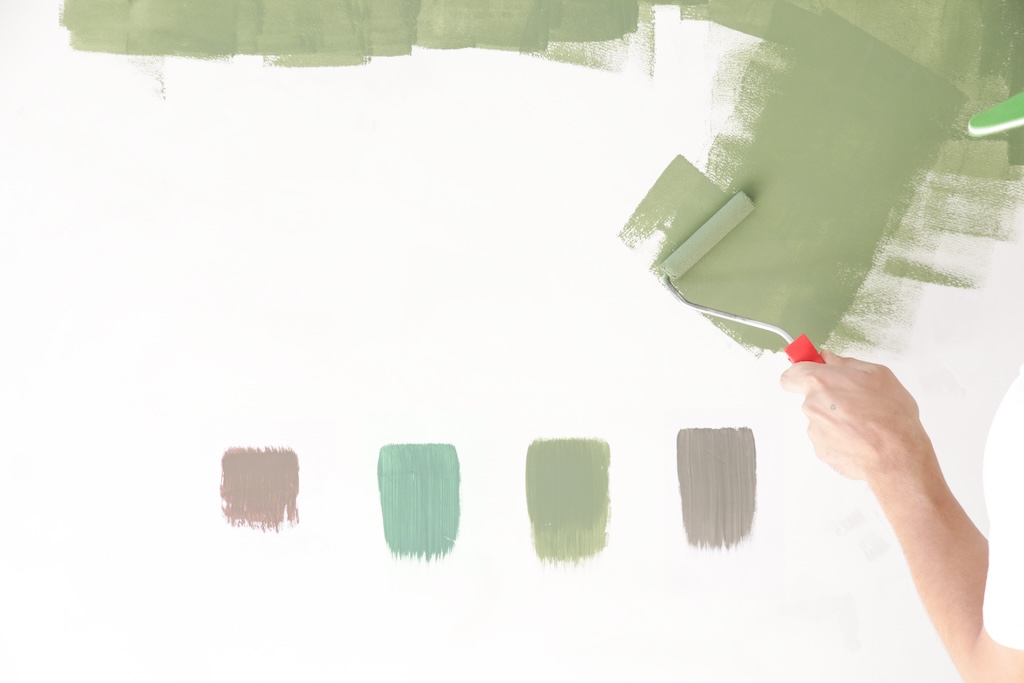
When it comes to the actual painting, efficiency is key. Start with the edges and corners of the room, using a brush to “cut in.” Once these areas are complete, use a roller for the larger wall surfaces. Using a roller extension pole can save time by reducing the need for a ladder, allowing you to paint more area with fewer strokes. Painting in sections—completing one wall before moving on to the next—helps you stay organized and focused, reducing the likelihood of missing spots or making errors. This systematic approach not only speeds up the painting process but also helps achieve a uniform finish across all surfaces.
Cleanup and Storage
Efficient cleanup and storage of your painting tools can also save time. Clean brushes and rollers immediately after use; dried paint can ruin these tools, forcing you to buy new ones for your next project. Properly seal and store leftover paint for future touch-ups or projects, clearly labeling the cans with the color and the room where it was used. This organization not only makes it easier to start new projects but also prevents waste, saving you money and time in the long run. Taking the time to clean and organize after your painting project can prevent headaches later and extend the life of your painting supplies.
Final Thoughts
Even for the busiest individuals, DIY painting can be a manageable and rewarding task. By planning and preparing efficiently, choosing the right paint, streamlining the painting process, and taking care of cleanup and storage, you can significantly reduce the time and effort involved. These time-saving strategies for DIY painting will not only make your painting project more enjoyable but also ensure a beautiful result in a shorter amount of time. Remember, a little preparation goes a long way in making DIY projects less daunting and more successful. With these strategies, you can look forward to a smoother painting experience and a quicker return to your normal routine. For more DIY painting advice and inspiration, visit our website sisupainting.com and check out our blog at sisupainting.com/blog.


No comment