Painting your house can seem daunting, but with the right approach and techniques, you can achieve a professional-looking finish. Whether you’re refreshing a room or revamping your home’s exterior, a well-executed paint job can breathe new life into your space. This blog provides a step-by-step guide to help you tackle your house painting project like a pro.
Planning and Preparation
Assessing the Project
Start by assessing the scope of your painting project. Determine which areas need painting and consider the condition of the surfaces. This will help you estimate the amount of paint and the types of supplies you’ll need. A careful inspection can also reveal if there are issues that need to be addressed before you start painting.
Choosing the Right Paint
Selecting the right type of paint is crucial. For interiors, decide whether you need a washable, moisture-resistant, or low-VOC paint. For exteriors, consider weather-resistant and durable options. The finish of the paint, whether matte, satin, or glossy, also plays a significant role in the appearance and maintenance of the painted surface. Understanding the different types of paint and their suitable applications will ensure long-lasting results.
Color Selection
Choosing the right color can transform your space. Consider the lighting in the room, the color of your furniture, and the overall ambiance you want to create. Test your chosen colors with samples before committing to them. This step can prevent dissatisfaction with the final outcome and save time and resources in the long run.
Preparing the Area
Cleaning and Repairing Surfaces
Ensure all surfaces are clean, dry, and smooth before you begin painting. Repair any holes, cracks, or damage to get the best possible finish. For exterior painting, this might involve power washing and scraping off old paint. A well-prepared surface will ensure that the paint adheres correctly and lasts longer. Do not forget to address mold or mildew issues, as they can cause paint to fail prematurely.
Protecting Surrounding Areas
Before painting, it’s important to protect the surrounding areas. Use drop cloths, painter’s tape, and plastic sheeting to cover floors, furniture, and adjacent surfaces to prevent paint splatters and spills. This step is crucial to avoid additional cleanup and to keep your space tidy. Ensure that all coverings are secured properly to prevent them from shifting during the painting process.
Painting Tools and Equipment
Essential Tools
Gather all necessary tools and materials before starting. This includes brushes, rollers, paint trays, ladders, and safety gear. High-quality brushes and rollers can significantly affect the finish of your paint job, making a visible difference in the end result. Also, consider the type of paint you are using as oil-based paints will require different tools and cleaning methods compared to water-based paints.
Sprayer for Larger Projects
For larger exterior projects, a paint sprayer may be a wise investment. It can save time and provide an even coat, but it requires some skill to operate effectively. If you choose to use a sprayer, make sure to practice and familiarize yourself with its use for the best outcome. Additionally, always follow the manufacturer’s instructions for setup, use, and cleanup to maintain the equipment in good condition.
The Painting Process
Priming
Apply a primer if necessary, especially if you’re painting over a dark color, raw wood, or new drywall. Primer helps in achieving a uniform finish and better adhesion for the paint. Moreover, priming can block stains and prevent bleeding from previous paint layers. It’s also essential to choose the right type of primer for the surface you are working on.
Painting Techniques
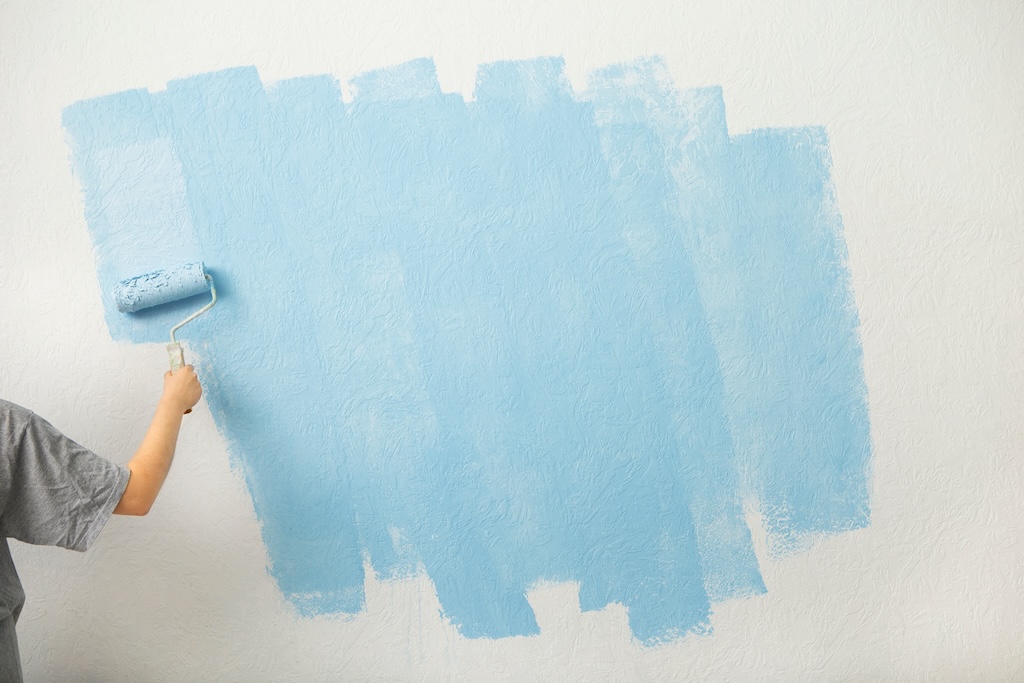
When using a brush, start from the corners and edges. For rolling, use a ‘W’ or ‘M’ pattern for even coverage. If using a sprayer, practice on a cardboard first to get comfortable with the motion. Always maintain a wet edge to avoid lap marks and to ensure a seamless look across your walls.
Multiple Coats
Apply at least two coats of paint for a durable and uniform finish. Allow sufficient drying time between coats, as recommended by the paint manufacturer. Check for consistency in coverage and color after each coat dries. It’s better to apply several thin coats rather than one thick coat to avoid drips and to achieve a professional finish.
Finishing Touches
Inspecting and Touch-Ups
Once the paint is dry, inspect your work. Touch up any missed spots or edges for a flawless finish. Be vigilant for runs or drips that may have been overlooked during the application. A well-done touch-up can make the difference between a good paint job and a great one.
Clean-Up
Properly clean your brushes, rollers, and other tools. Store leftover paint for future touch-ups. Ensure that you dispose of any hazardous materials according to local regulations. Taking care of your tools after a job will extend their life and make them ready for your next project.
Final Thoughts
Painting your house like a pro requires careful planning, preparation, and execution. By following these steps, you can ensure a successful paint job that enhances the beauty and value of your home. With patience and attention to detail, you’ll be able to achieve a professional-looking finish that you can be proud of. For more DIY tips and home improvement advice, visit our website at sisupainting.com and explore our blog at sisupainting.com/blog.


No comment