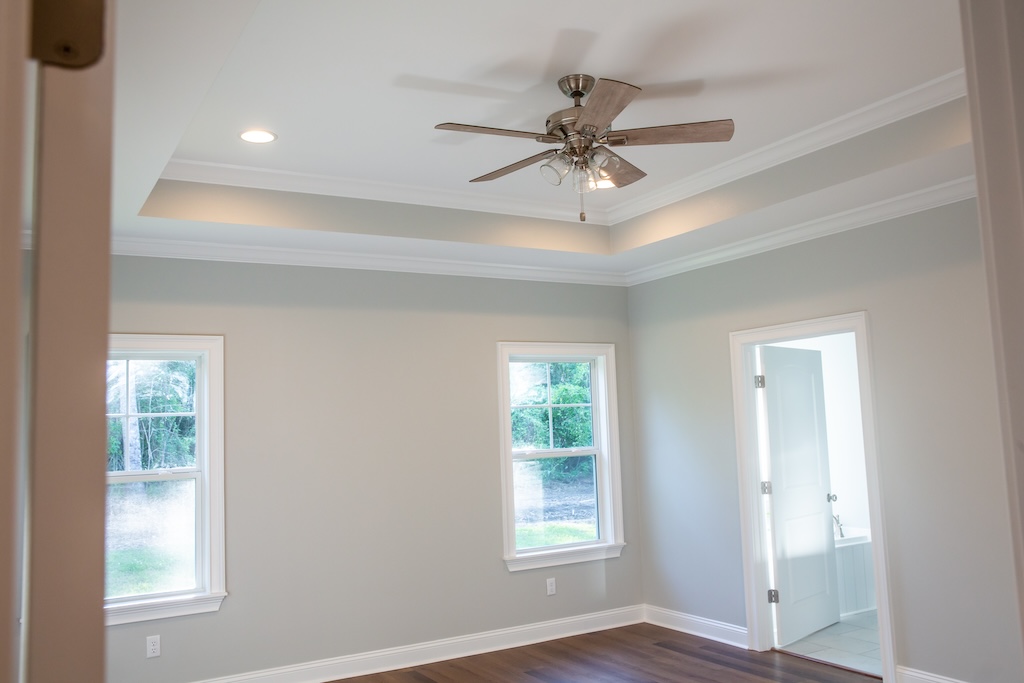
Painting a ceiling can be a daunting task, but with the right approach, it can significantly enhance the overall look of a room. A well-painted ceiling can brighten a space, make it feel larger, or add a touch of elegance. This blog will provide essential tips and tricks to help you achieve a perfect finish when painting ceilings, transforming them from mere overhead spaces to integral parts of your home’s aesthetic. It’s important to consider not just the color but also the sheen of the paint, as different sheens can affect the room’s lighting.
Choosing the Right Paint
Selecting Ceiling Paint
The choice of paint is crucial for ceiling painting. Ceiling paint is specifically formulated to minimize splatter and reduce drips. It’s often thicker than wall paint and typically comes in a flat or matte finish, which helps to hide imperfections. Moreover, some ceiling paints have additives that make them more resistant to mildew, a common problem in damp areas.
Color Considerations
While white is a classic choice for ceilings due to its ability to make spaces appear larger and brighter, don’t be afraid to consider other colors. A lighter shade of the wall color or a soft pastel can add a subtle, stylish contrast. If you’re feeling adventurous, a bold color or even a pattern could transform the ceiling into a statement piece. Remember to take into account the room’s natural light when selecting your color, as this can significantly affect how the color appears.
Preparing the Room
Protecting Furniture and Floors
Start by removing as much furniture as possible. For items that can’t be moved, cover them with drop cloths. Protect your floors with canvas drop cloths or plastic sheeting. Remember to also cover light fixtures and ceiling fans or remove them if possible. Make sure the room is well-ventilated to allow the paint to dry properly and to reduce the inhalation of fumes.
Surface Preparation
A clean, smooth surface is key. Dust and wash the ceiling to remove cobwebs and stains. Fill in any cracks or holes with spackle, and sand the surface smooth once it’s dry. It’s also advisable to apply a primer, especially if you’re making a drastic color change or painting over a darker shade.
Tools and Equipment
A roller with an extension pole is the most efficient tool for ceiling painting. Choose a roller cover with the appropriate nap length – a shorter nap for smooth ceilings and a longer nap for textured ones. An angled brush will be helpful for cutting in around the edges of the ceiling. Don’t forget a sturdy ladder to safely reach all areas of the ceiling.
Painting Techniques
The Importance of Cutting In
Before you begin with the roller, ‘cut in’ at the edges where the ceiling meets the walls. Use a 2-3 inch angled brush to paint a 2-3 inch strip along the perimeter of the ceiling. This will make rolling easier and ensure a uniform edge. Consistency is key, so be sure to maintain the same brush stroke direction throughout the cutting in process.
Rolling Techniques
When using the roller, start from the corner and work in small sections. Move in a ‘W’ or ‘M’ pattern, then fill in the gaps with straight, overlapping strokes. This technique helps to avoid roller marks and ensures even coverage. Keep the roller loaded with paint to achieve a consistent finish, but be careful not to apply too much paint to avoid drips.
Working in Sections
Work in sections of about 5-6 feet square. This allows you to maintain a wet edge, reducing lap marks, and ensures a more even application. Plan your approach to work systematically across the ceiling, starting from one side of the room and moving to the opposite side. This strategy helps you keep track of where you’ve painted and where you need to paint next.
Avoiding Common Pitfalls
Maintaining a Wet Edge
Always maintain a wet edge to avoid lap marks. This means overlapping the previous section before the paint dries. It’s also important to work quickly and efficiently, keeping an eye on the paint’s drying time. Lap marks occur when painted areas overlap dry areas, creating an uneven finish.
Avoiding Overworking
Don’t overwork the paint. If you notice a missed spot or a drip, resist the urge to immediately go over it. Let the paint dry, and then touch it up later. Overworking the paint can lead to an uneven surface and may even pull the paint away from the ceiling, creating more work for you in the long run.
Final Thoughts
Painting a ceiling can be a rewarding DIY project that adds value to your home. With the right preparation, tools, and techniques, you can achieve a flawless finish that will transform the ambiance of your room. Remember, a beautiful ceiling is just as important as well-decorated walls. For more painting tips and home improvement advice, visit our website at sisupainting.com and check out our blog at sisupainting.com/blog.


No comment