Painting is a popular DIY home improvement project that can dramatically transform a space. However, without the right techniques and preparation, it’s easy to make mistakes that can affect the finish and longevity of your paint job. This blog will guide you through avoiding common painting pitfalls and achieving professional results, even if you’re doing it yourself. Paying attention to detail and not rushing through the process are key factors in getting the job done right.
Proper Preparation
Importance of Surface Preparation
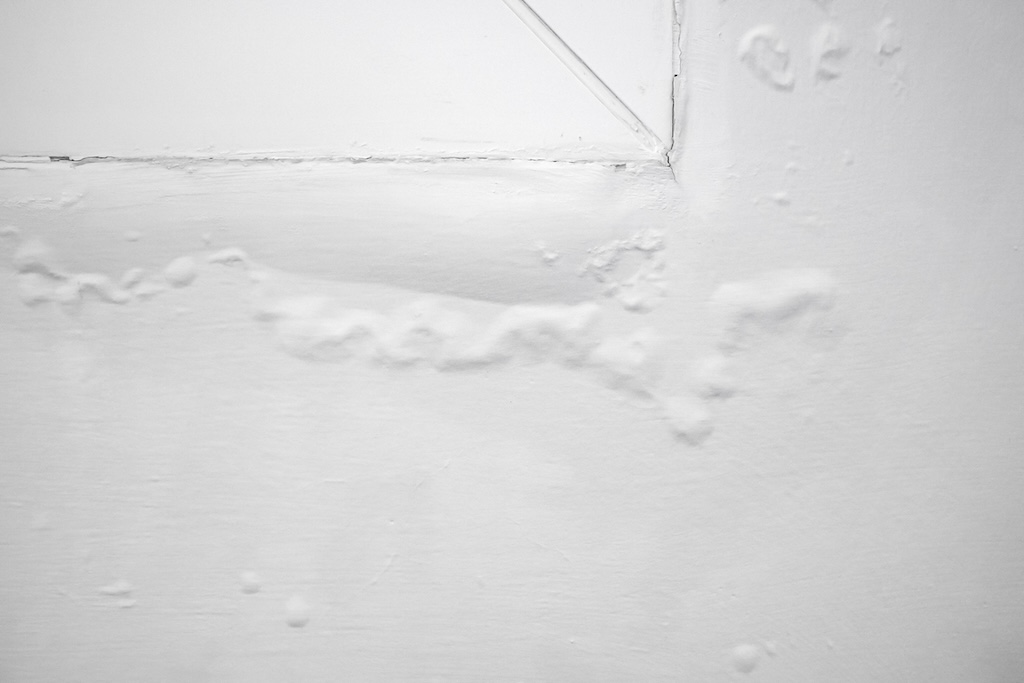
One of the most common mistakes in painting is not adequately preparing the surface. This can lead to paint not adhering correctly or unevenly. Before you begin, clean the walls to remove dust, dirt, and grease. Fill in any holes or cracks and sand down rough spots. Ensure the surface is completely dry before you start painting. Taking the time to do this groundwork will create a better-looking finish and increase the durability of your paintwork.
Using the Right Tools
Using high-quality brushes and rollers can make a significant difference. Cheap brushes can shed bristles onto your paintwork, and poor-quality rollers can leave lint behind. Investing in good-quality tools will help you achieve a smoother finish and ensure the tools last for future projects. Furthermore, using the appropriate size and type of brush or roller for the job can improve efficiency and effectiveness.
Correct Use of Paint
Stirring Paint Thoroughly
Paint needs to be stirred thoroughly before use, even if it was mixed at the store. This ensures that the color and ingredients are evenly distributed, providing a consistent finish across your walls. Neglecting this step can result in color discrepancies and a lack of uniformity in the paint’s application.
Avoiding Overloading the Brush or Roller
Dipping your brush or roller too deeply into the paint can lead to drips and runs. Instead, dip only a third of the bristles into the paint, and tap off the excess. When using a roller, roll it back and forth in the tray to evenly distribute the paint. This will also help in applying the paint more evenly and with better control.
Painting Techniques
Cutting In
Cutting in involves painting the corners, ceiling lines, baseboards, and edges around windows and doors before using a roller on the larger areas. This requires a steady hand and patience, but it gives a much cleaner and more professional finish. Being meticulous during this stage can greatly enhance the overall neatness of your paint job.
Using a Roller Correctly
When using a roller, start from the middle of the wall and roll upwards and then downwards in a W-pattern, filling in the spaces as you go. This technique helps to evenly distribute the paint and avoid roller marks. Always make sure the roller is not too saturated with paint to avoid unnecessary splatter and waste.
Avoiding Common Mistakes
Painting on Wet Paint
Applying a second coat before the first one has fully dried is a common mistake. This can remove the first layer of paint or cause it to look patchy. Always follow the recommended drying times on the paint can. Patience between coats is crucial to achieving a professional-looking finish.
Not Using Painter’s Tape
Skipping painter’s tape can result in uneven lines and paint on unwanted areas. Use painter’s tape to mask off areas you don’t want to be painted, such as window panes, door frames, and baseboards. Pressing the tape firmly along the edges ensures a crisp, clean line when it is removed after the paint dries.
Post-Painting Care
Proper Ventilation
Ensure the room is well-ventilated during and after painting. This helps the paint to dry evenly and reduces the smell. Additionally, proper ventilation can minimize the inhalation of any harmful fumes, which is especially important for those with respiratory issues or sensitivities. Using fans and keeping windows open, if weather permits, are effective ways to maintain good airflow.
Correct Clean-Up
Clean your brushes and rollers immediately after use. Proper cleaning and storage will extend their life and ensure they are in good condition for your next project. Letting paint dry on the brushes or rollers can ruin them for future use and affect the quality of your subsequent painting projects.
Final Thoughts
By avoiding these common mistakes and employing proper painting techniques, you can achieve a professional-looking finish in your home. Remember, good preparation, patience, and attention to detail are key to successful painting. For more DIY painting tips and home improvement advice, visit our website at sisupainting.com and check out our blog at sisupainting.com/blog.


No comment