DIY painting projects can be incredibly rewarding, offering a sense of accomplishment along with the opportunity to inject your personal style into your living space. However, achieving a professional-looking finish requires more than just enthusiasm; it requires technique. Fortunately, professional painting techniques can be adapted for DIY use, enabling you to achieve superb results without the expense of hiring a professional. This blog will explore how to apply these professional painting techniques to your DIY projects. By utilizing these methods, you can ensure that your efforts yield a finish that not only looks great but also stands the test of time.
Understanding Paint and Surface Preparation
Professional painters understand that the key to a perfect finish begins long before the first coat of paint is applied. It starts with understanding the paint and surface preparation. For DIY projects, choosing the right type of paint is essential – be it latex-based for walls or oil-based for trim and detailing. Furthermore, surface preparation involves cleaning, sanding, and priming the walls. A clean, smooth surface is essential for professional painting techniques to work effectively, ensuring that the paint adheres properly and lays down smoothly. Thorough preparation can prevent many common painting problems, such as peeling and blistering, enhancing the overall durability of your paint job.
Mastering Cutting-In
One professional painting technique professionals use to achieve sharp, clean edges is ‘cutting-in.’ This involves painting freehand along edges and corners where walls meet ceilings, baseboards, and other walls. For DIY, you can use the same technique with a high-quality angled brush. Dip the brush slightly into the paint, wipe the excess, and apply the paint in a steady line along the edges. It requires a steady hand, but with practice, you can achieve crisp, straight lines, just like the pros. This method is particularly useful for areas that are too intricate for painter’s tape, offering a cleaner, more controlled finish.
The Art of Using Rollers
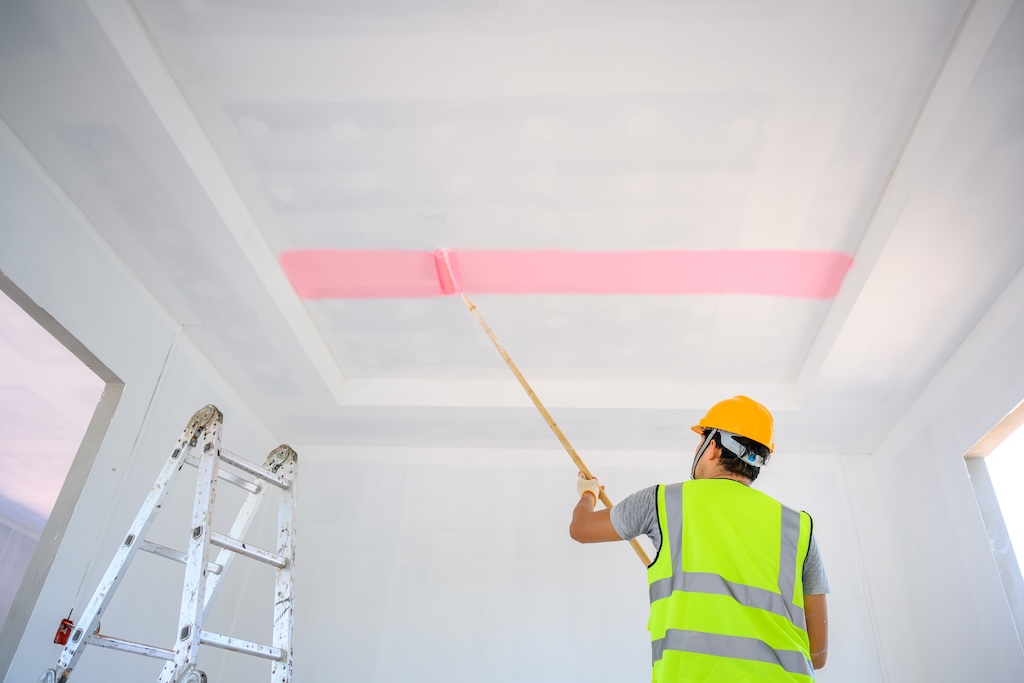
Rollers are a favorite among professionals for quickly covering large wall areas. The key to using a roller effectively lies in applying the right amount of paint and maintaining consistent pressure. Start by rolling in a ‘W’ pattern to distribute the bulk of the paint, then fill in the gaps with straight, controlled strokes. This professional painting technique helps to avoid roller marks and ensures even coverage. Proper technique with a roller can greatly increase the speed of your painting project while also providing a smooth, even surface.
Dealing with Drips and Sags
Even professional painters occasionally deal with drips and sags. The trick is to catch them before they dry. Regularly inspect your work, especially after finishing a section. If you spot a drip, smooth it out with a brush or roller. Being proactive about catching these issues is crucial for a smooth, professional finish. Drips and sags can mar the appearance of your walls, but quick attention to these details can preserve the sleek look of your paint job.
The Importance of Quality Tools
One of the most significant lessons to take from professional painters is the importance of quality tools. High-quality brushes and rollers make a substantial difference in the finish of your paint job. They hold more paint, provide smoother application, and are less likely to shed bristles or fibers on your walls. Investing in good-quality tools is a direct investment in the quality of your finished project. Quality tools also tend to last longer, so while they may cost more initially, their durability provides value over time.
Final Thoughts
Transforming your home with a fresh coat of paint is a fulfilling project. With the right techniques, you can achieve results that rival those of professionals. By understanding the importance of preparation, mastering cutting-in, effectively using rollers, managing drips, and investing in quality tools, your DIY painting projects can turn out as beautifully as any professional job. Taking the time to learn and apply these techniques can elevate your DIY skills and ensure that your painted spaces are both beautiful and durable. This approach not only saves money but also enriches your DIY experience, making it a more rewarding and effective way to enhance your home. For more DIY painting tips and tricks, visit our website at sisupainting.com and check out our blog at sisupainting.com/blog.


No comment